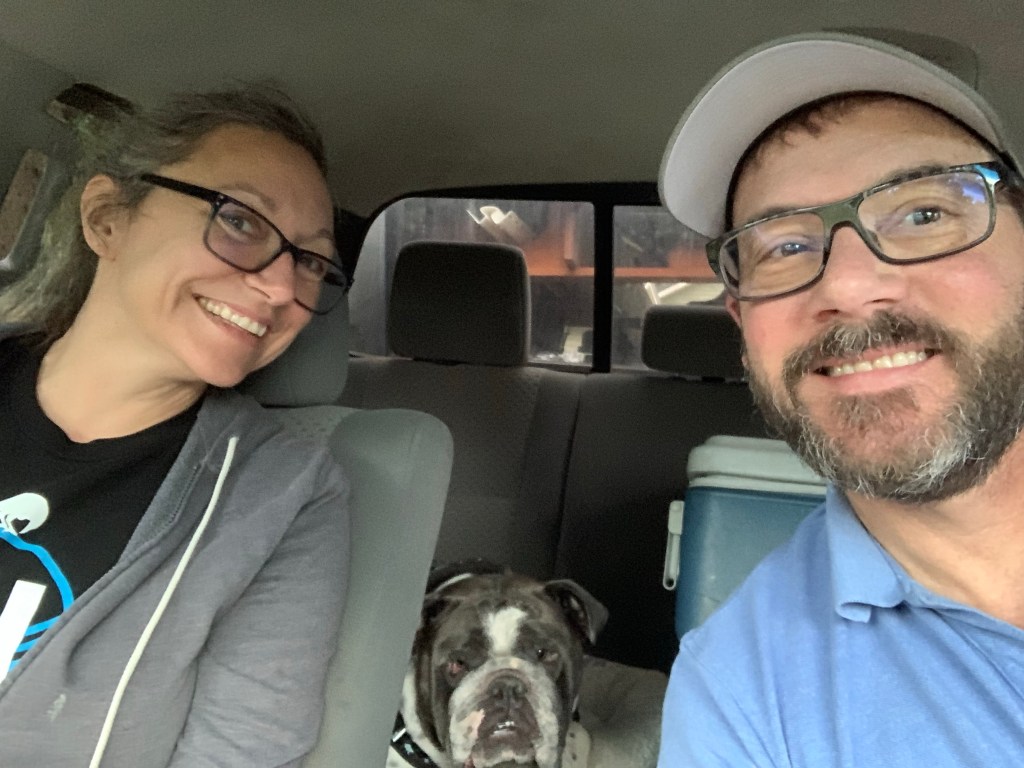
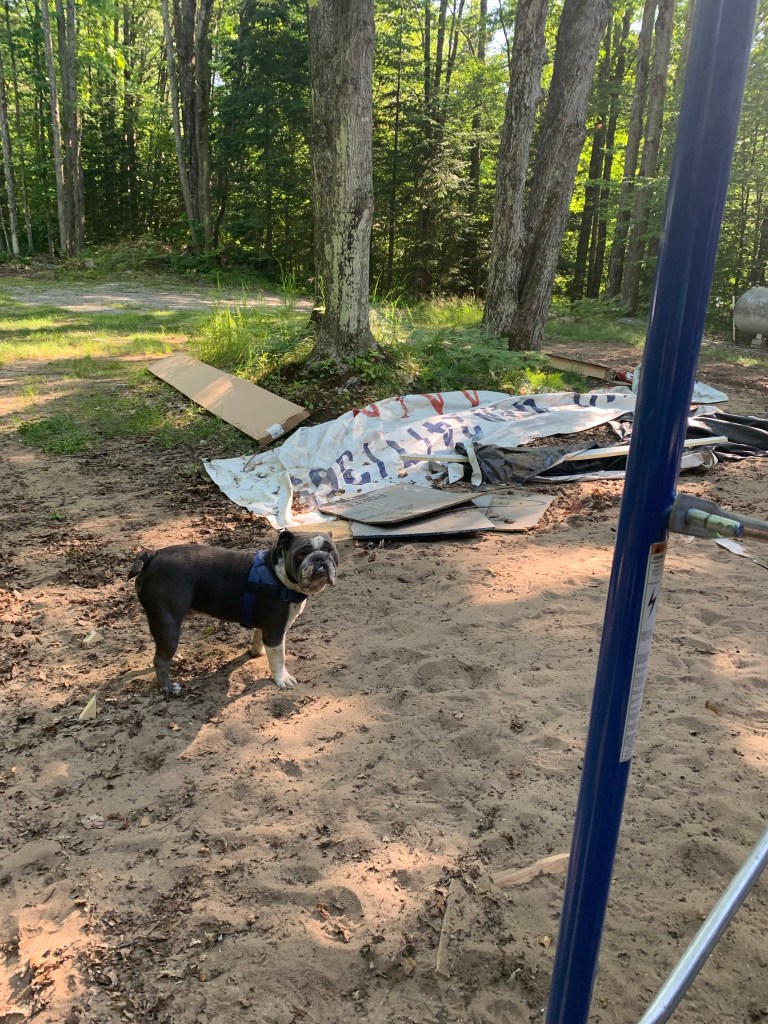
We headed up to our Cabin with plans of getting a lot of work done. We were both feeling strong and determined. We brought Stitch for moral support and foot rubs.
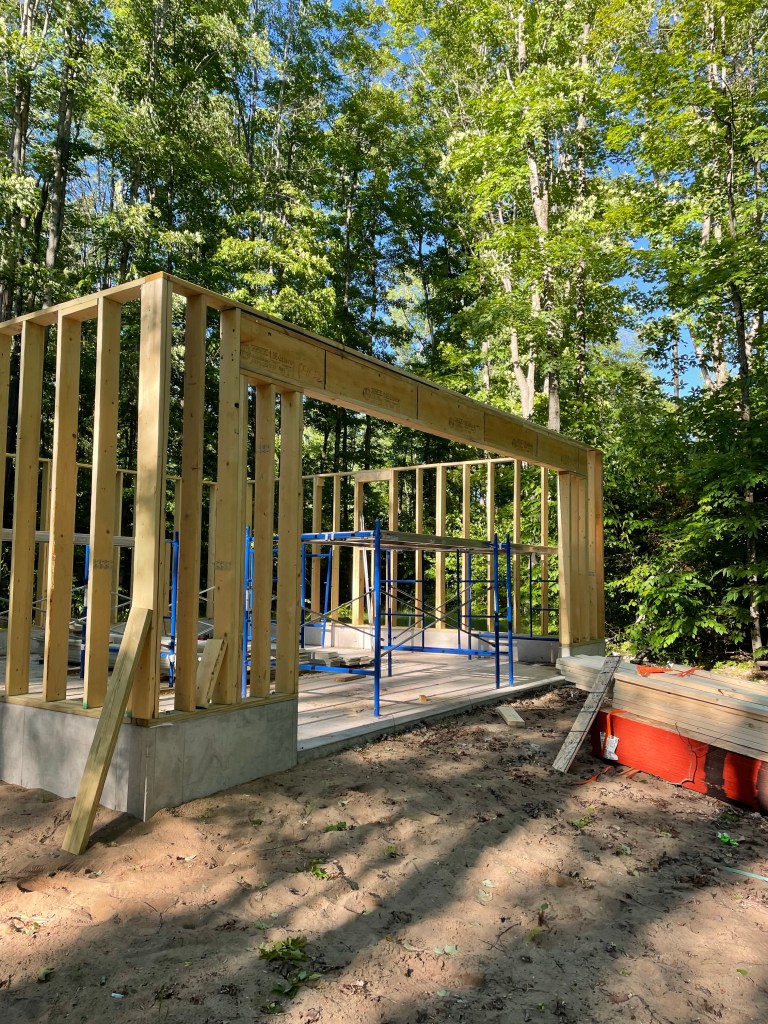
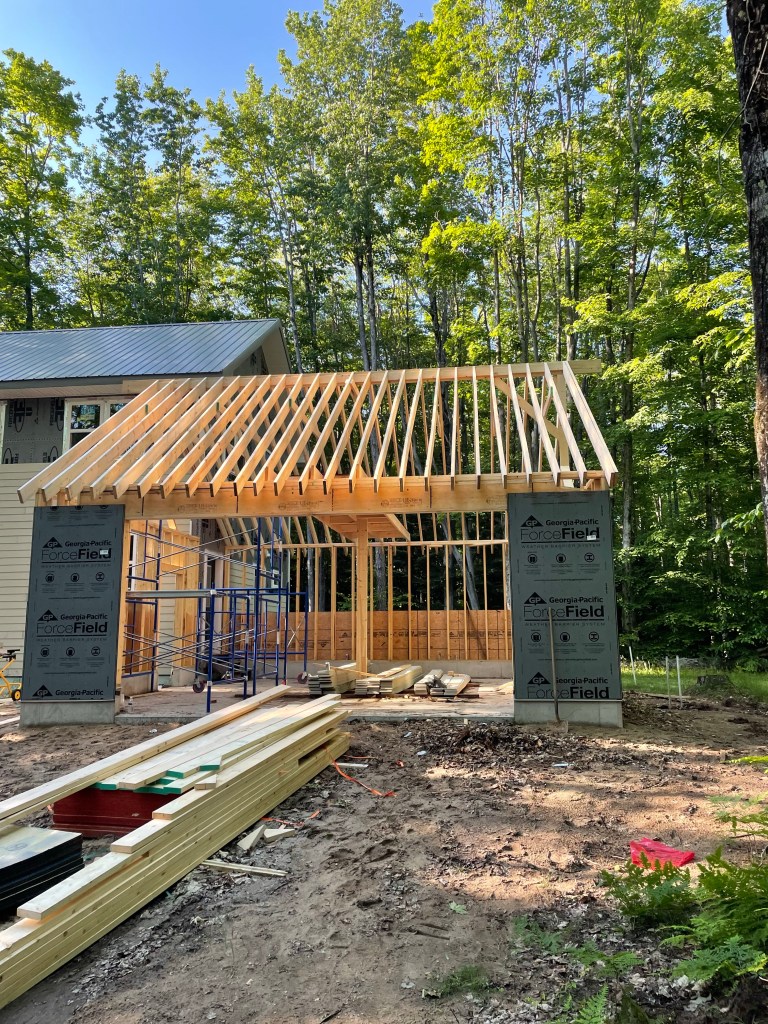
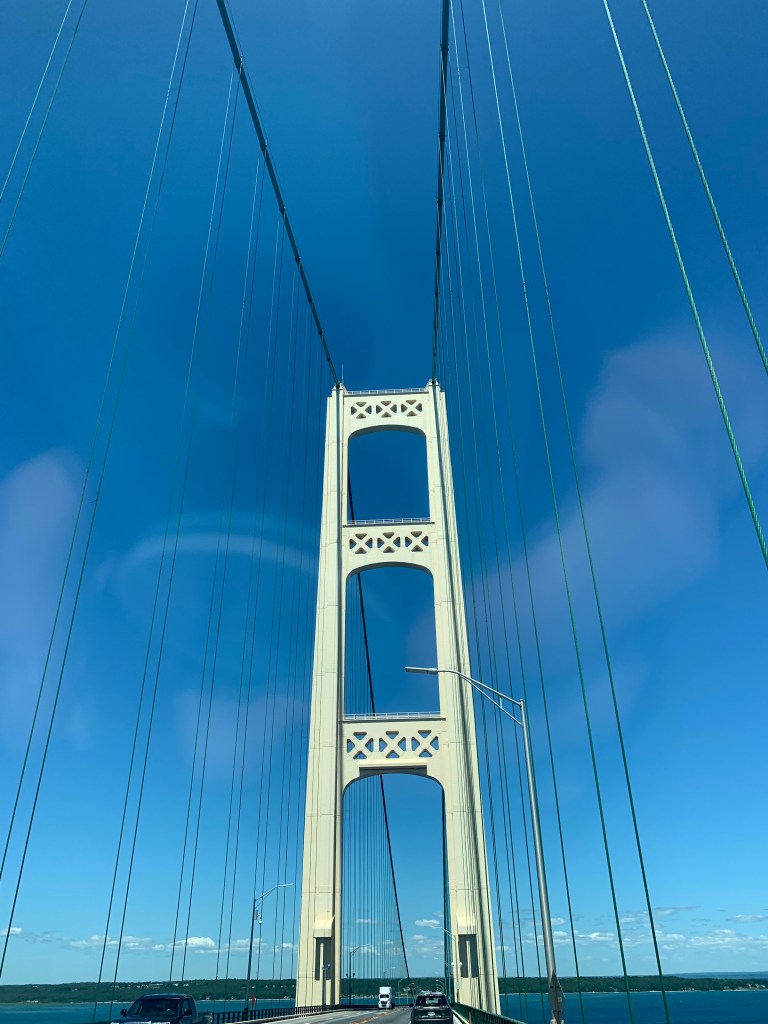
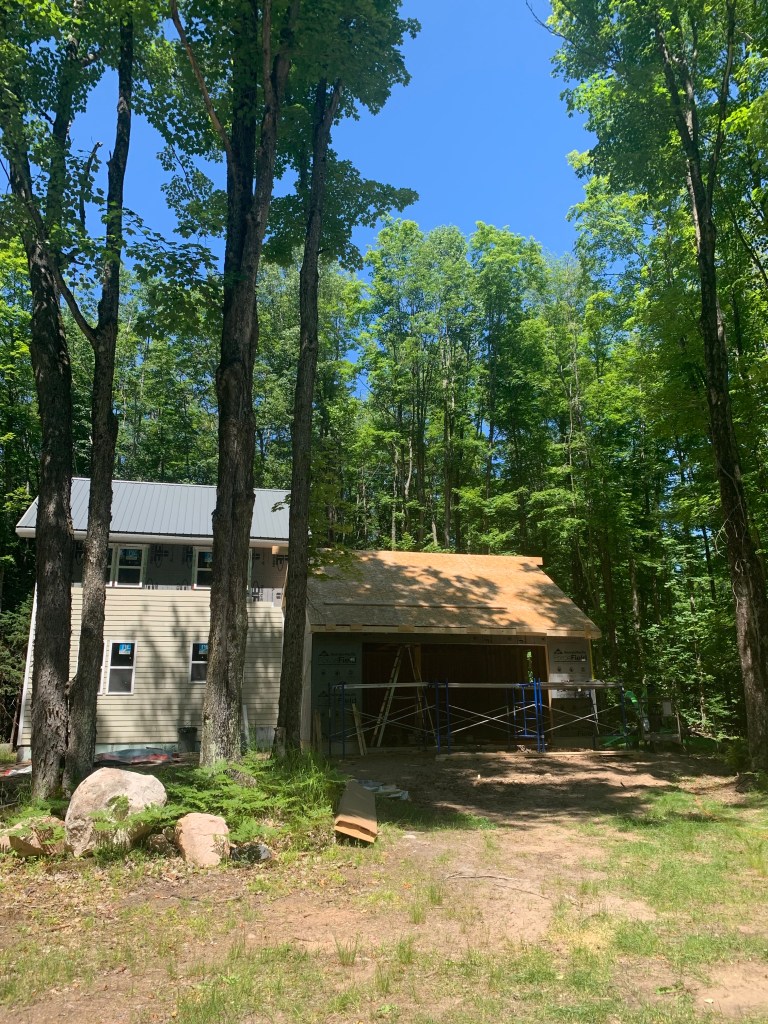
After crossing The Mighty Mac, we arrived to set up camp and prepare for work. We hoped to get the garage dried in, and cabin sided.
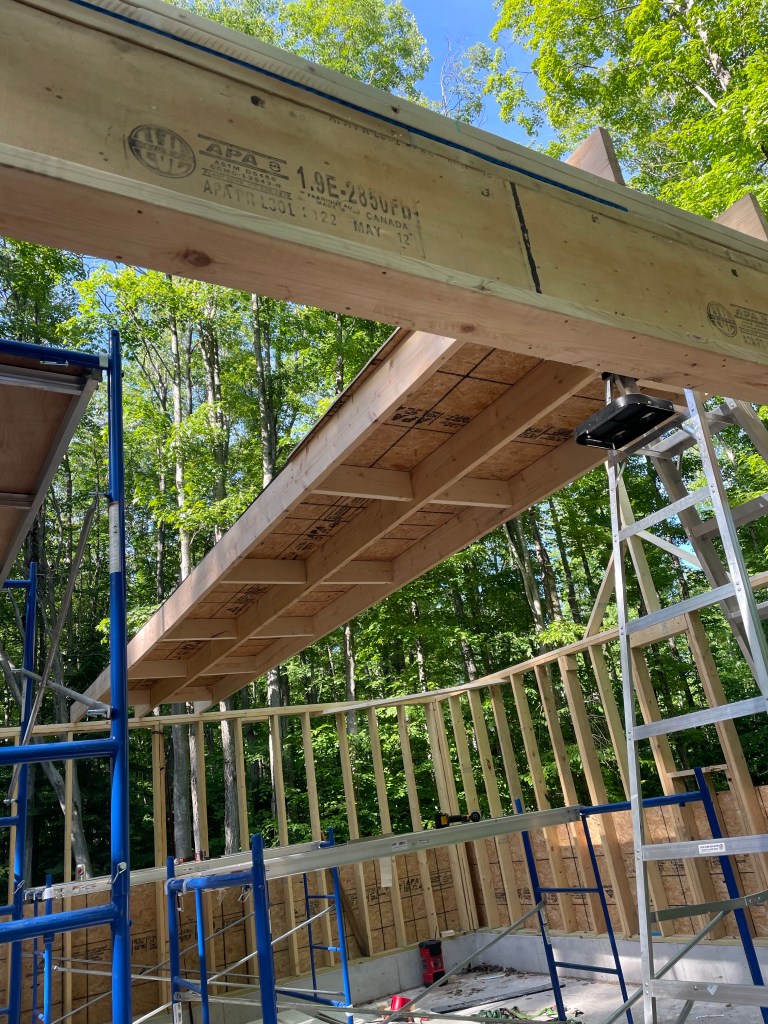
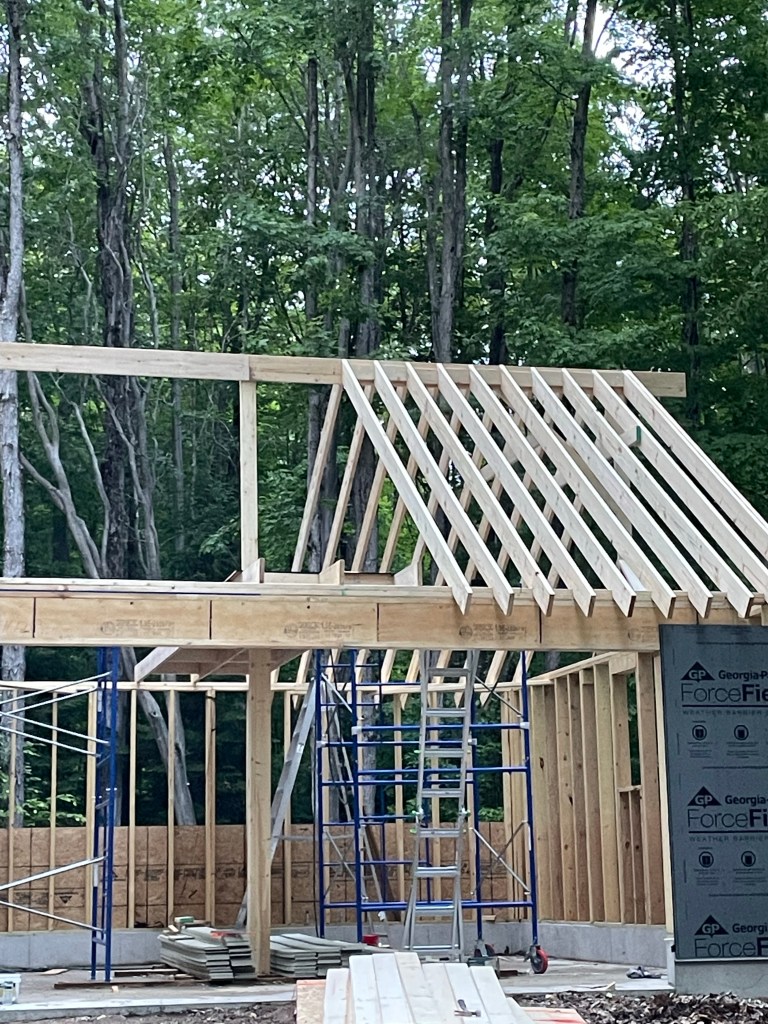
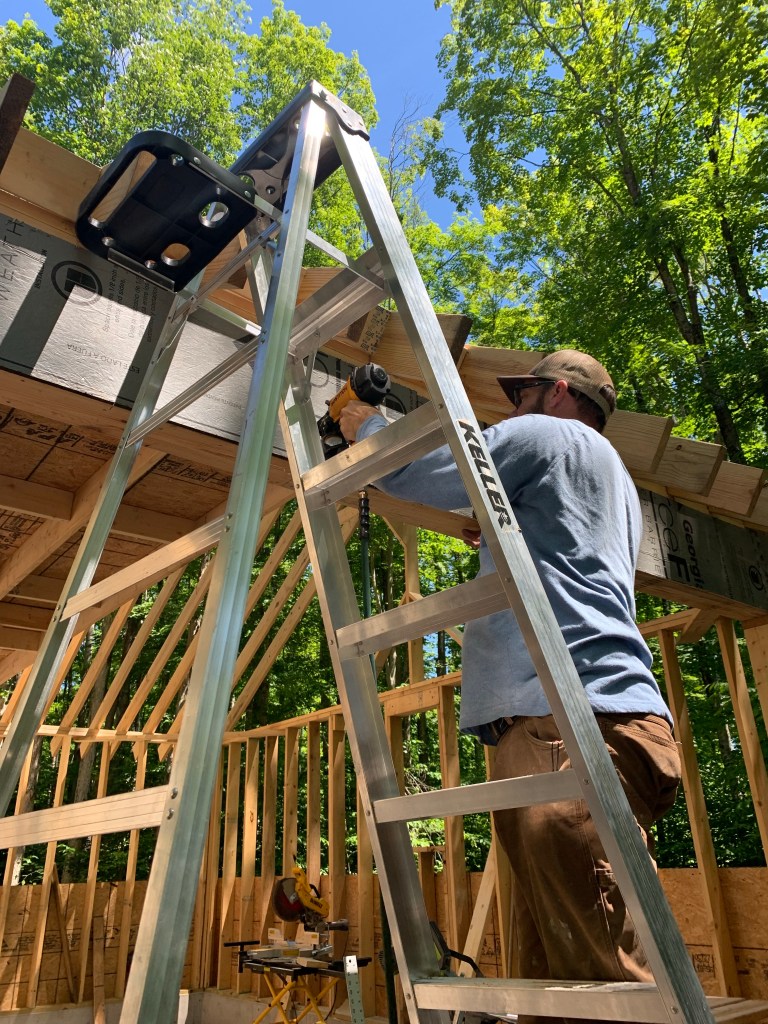
First we tackled details with the garage. Using scaffolding and ladders, we made rafter tails, added blocks between the rafters, and added fascia board.
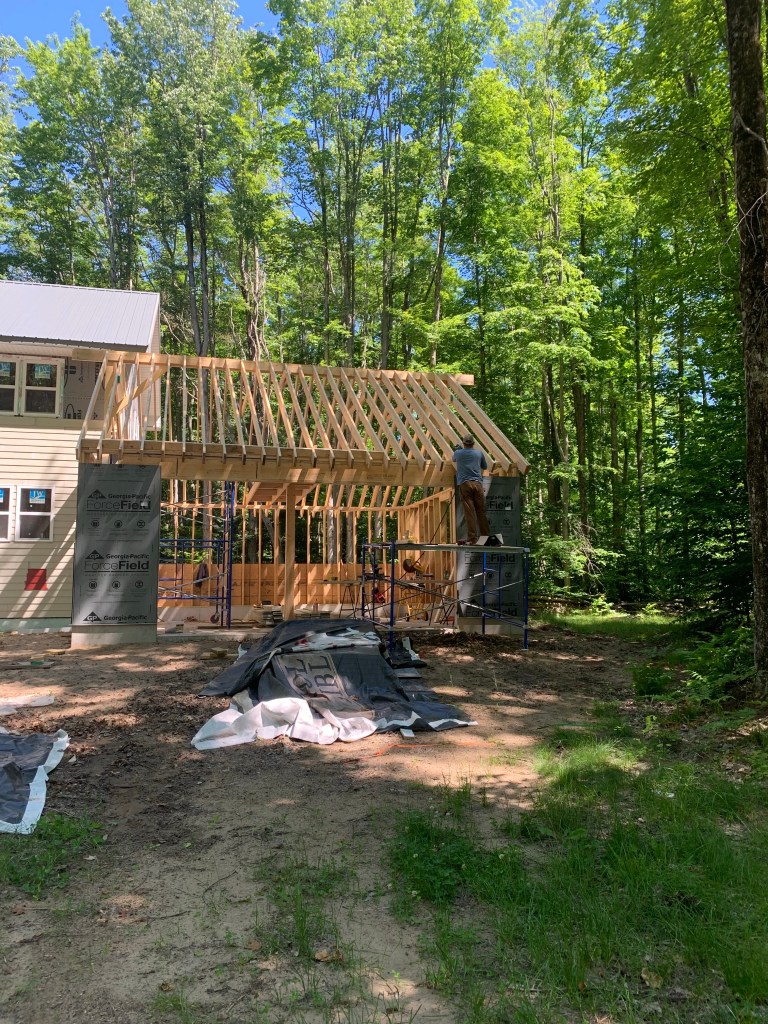
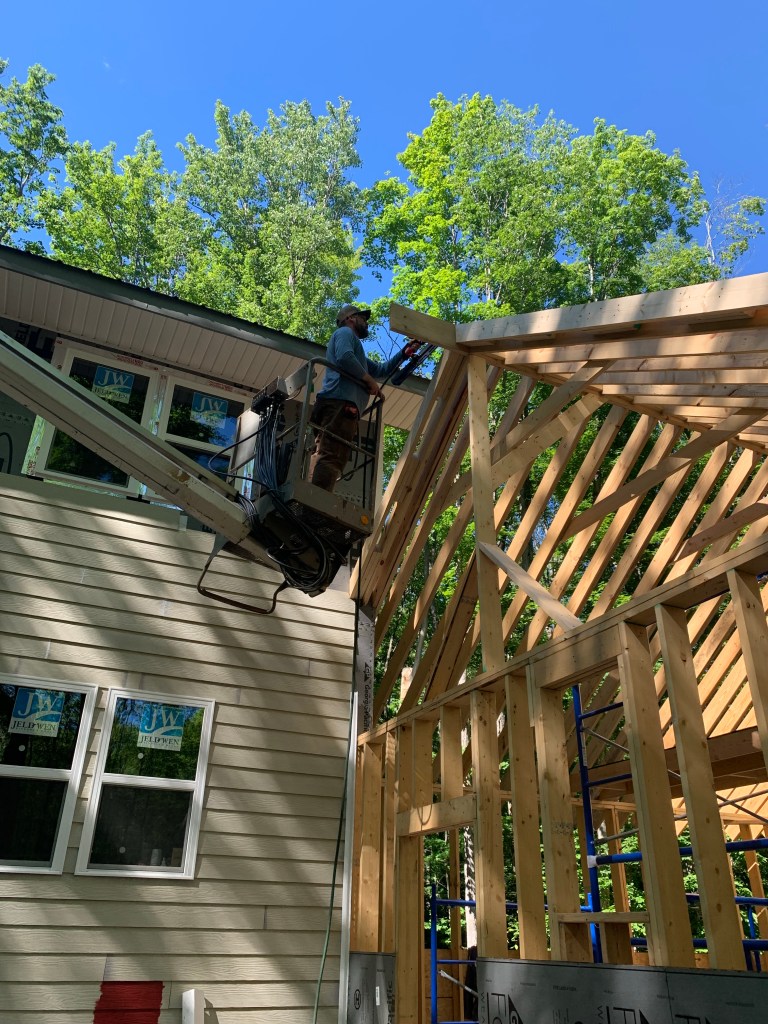
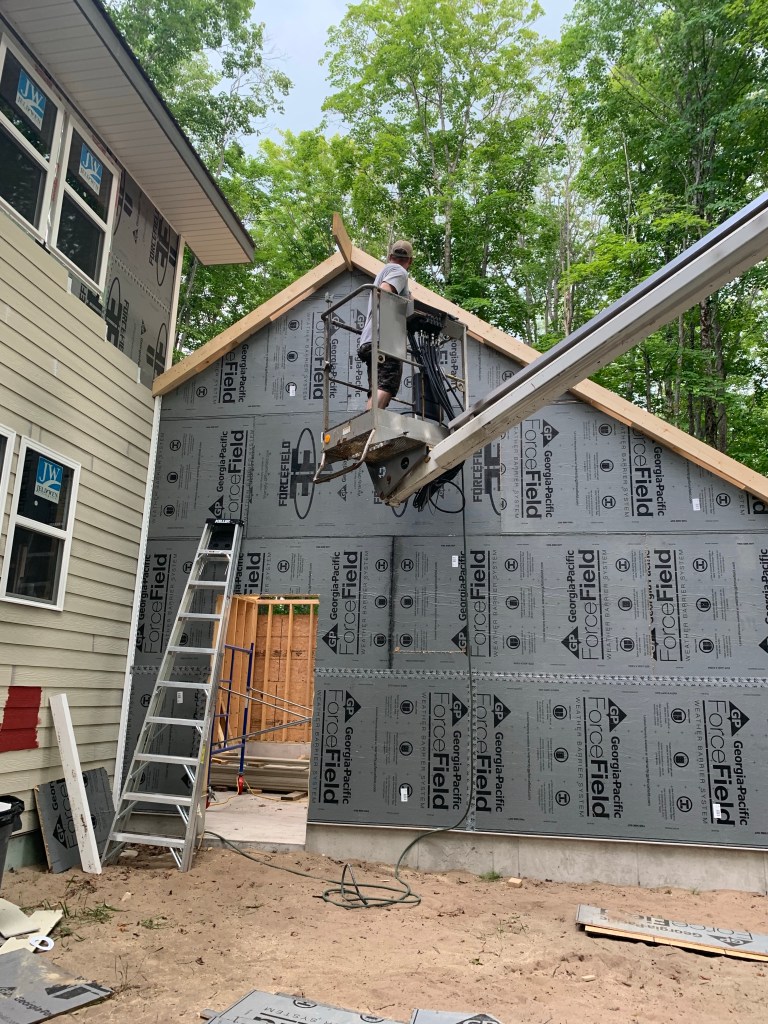
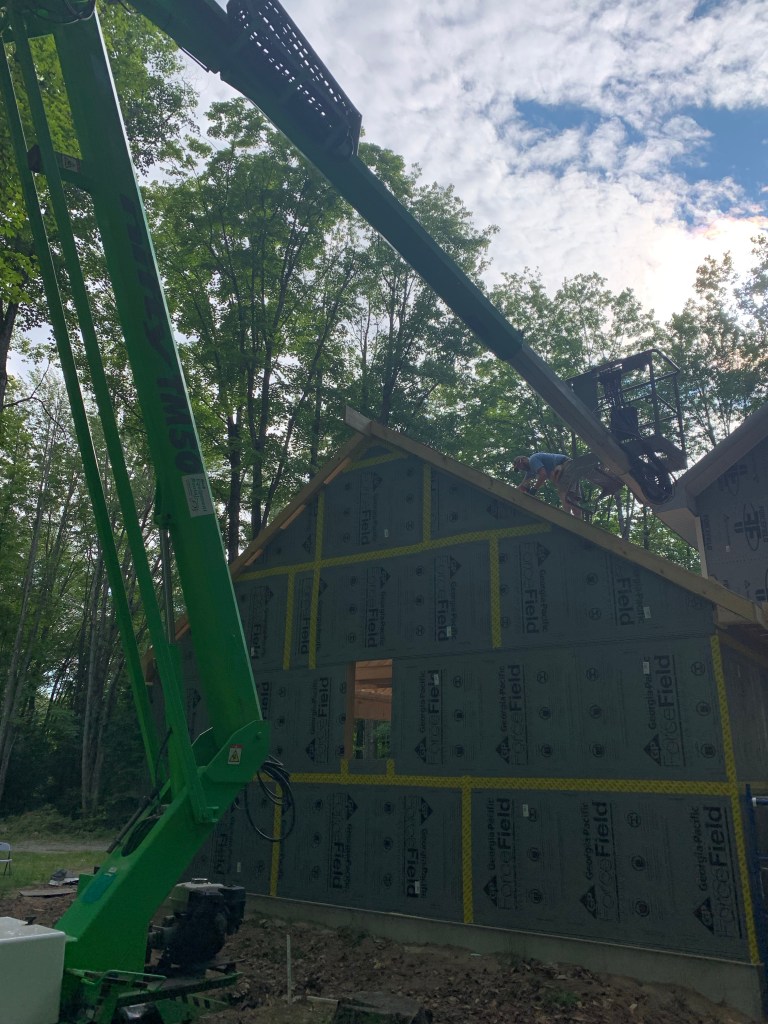
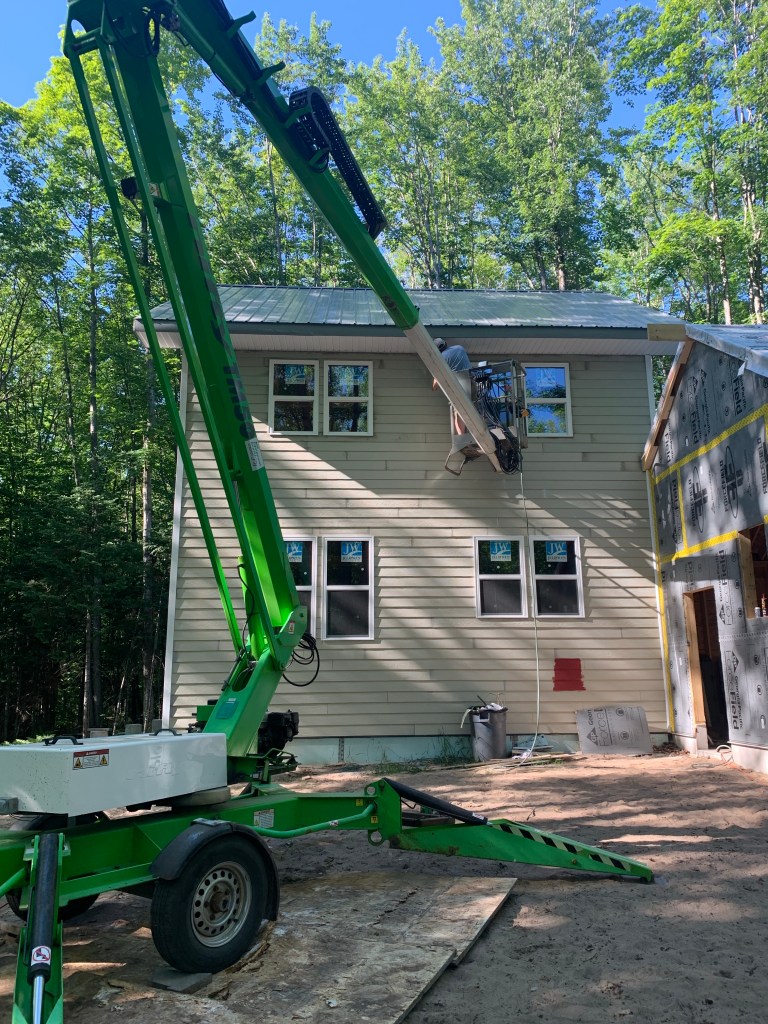
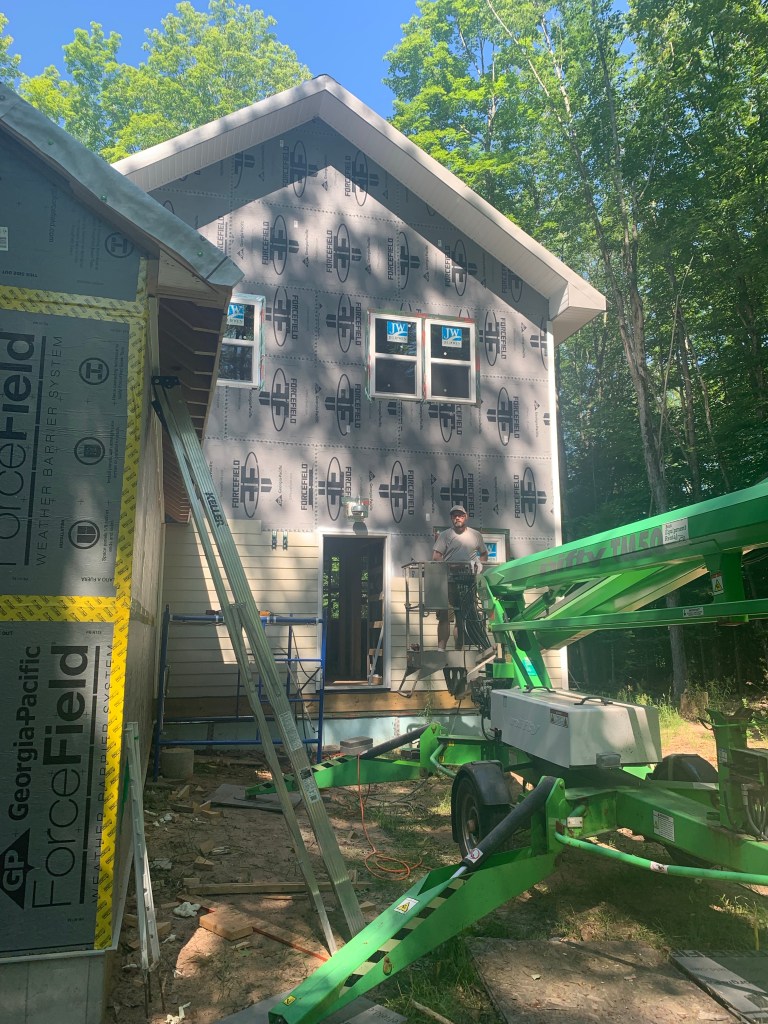
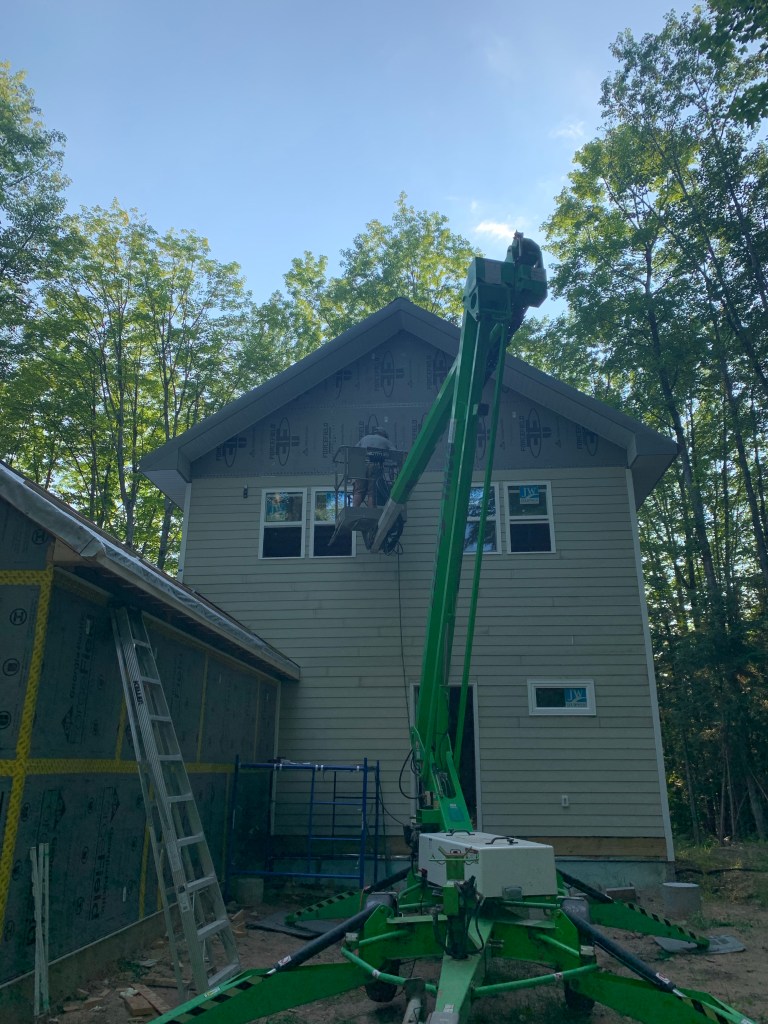
To reach all the heights, we rented a Nifty Fifty for the week: an articulating lift that is operator driven from the basket.

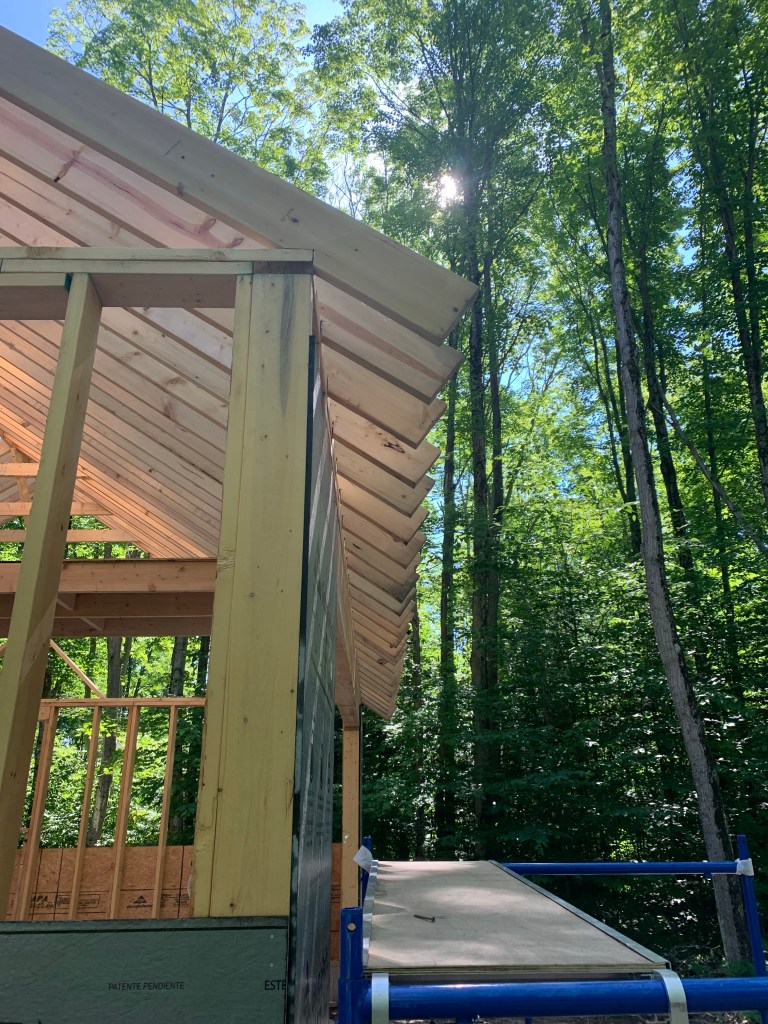
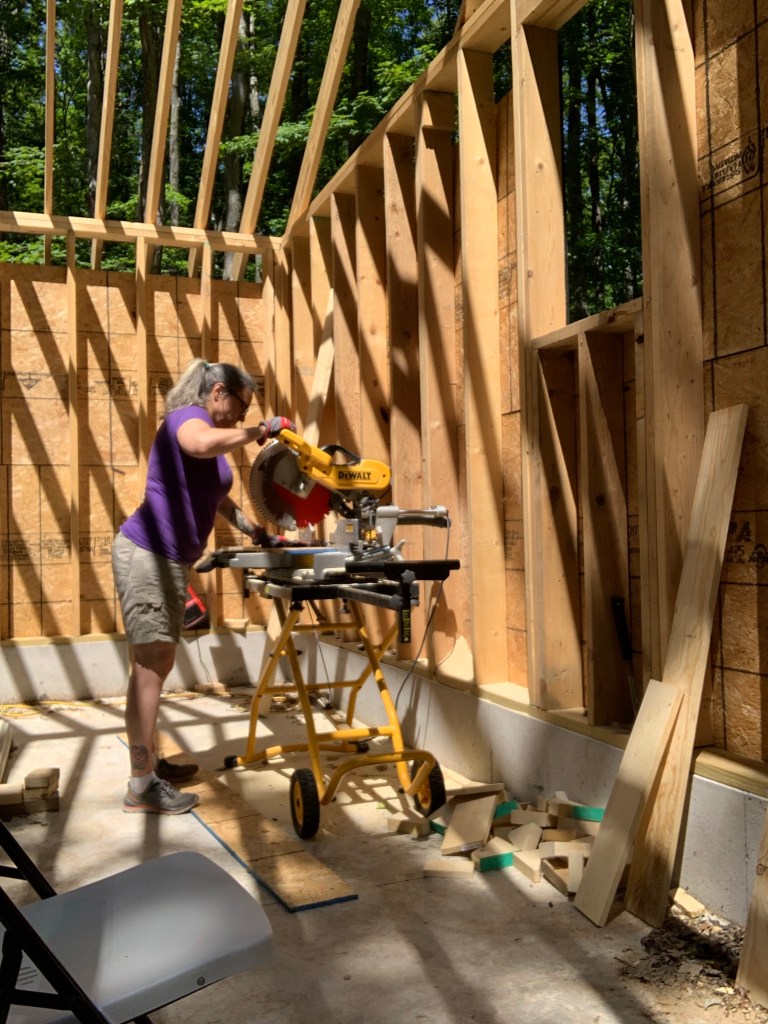
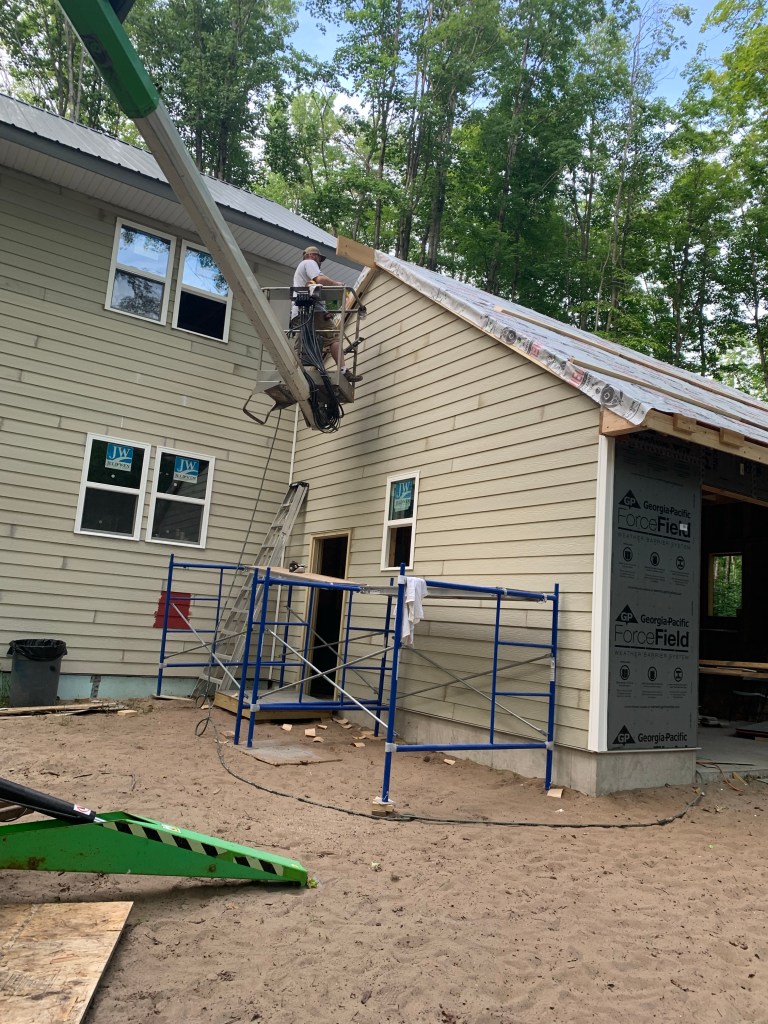
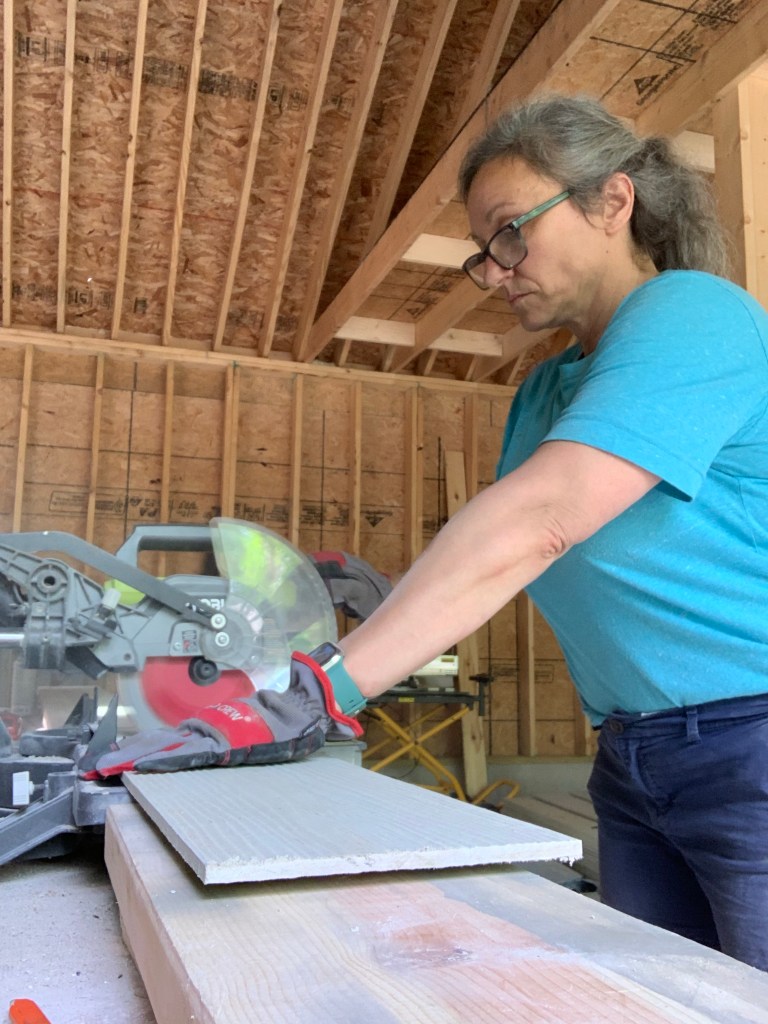
This helped us reach the tall areas of the garage to build soffits on all sides. J manned the lift while I operated the chop saw.
In order to put up fascia, the ends needed to be cut at the back of the garage or extended at the front of the garage. This will give a 16 inch soffit at the front and a slightly narrower one at the back. We had purchased 16 foot rafters rather than 18 foot for the cost ($17 per board), so we had to make this small adjustment. The back of the garage will face the back deck, so it will be less obtrusive with the narrower soffit.

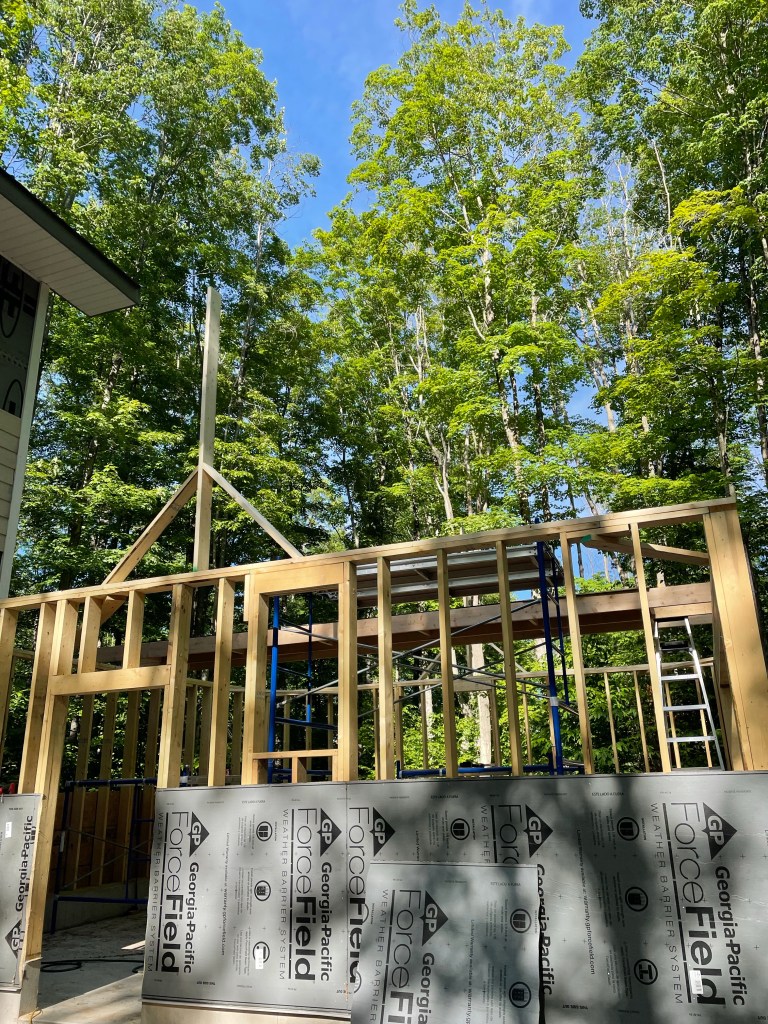
After a hearty breakfast, we were ready to tackle the vertical boards on the sides of the garage so we could continue to dry in the building.


With only a crew of 2, we found a rhythm in J doing the climbing, measuring, calling out measurements, me doing the chopping and the handing up of boards.
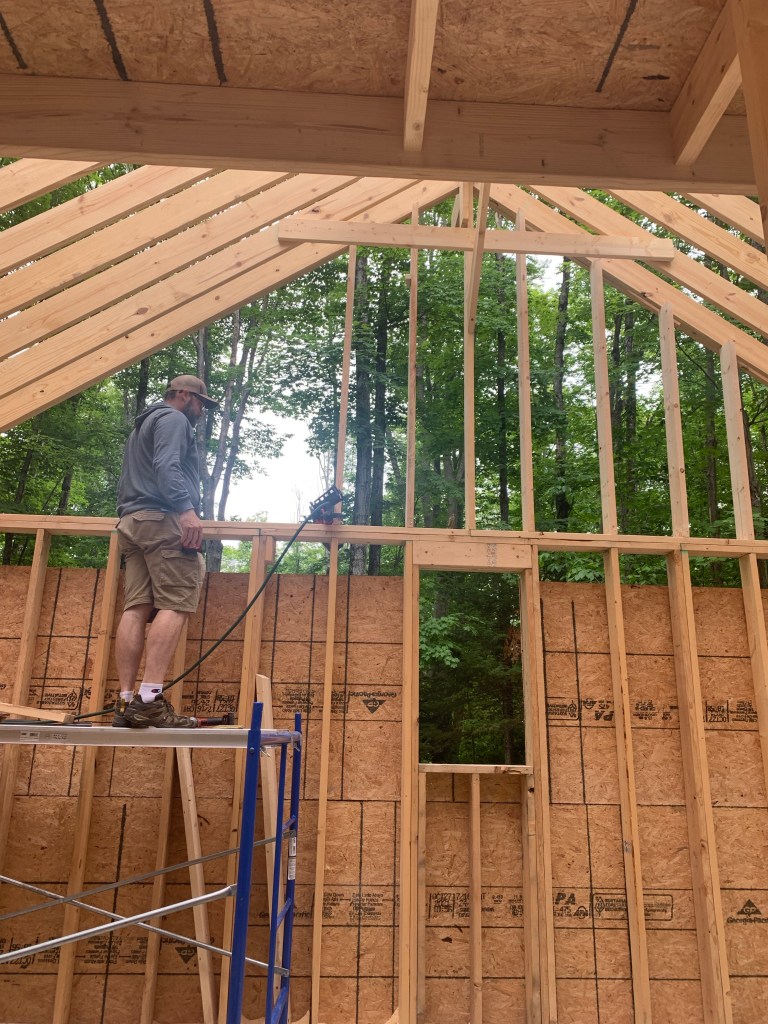
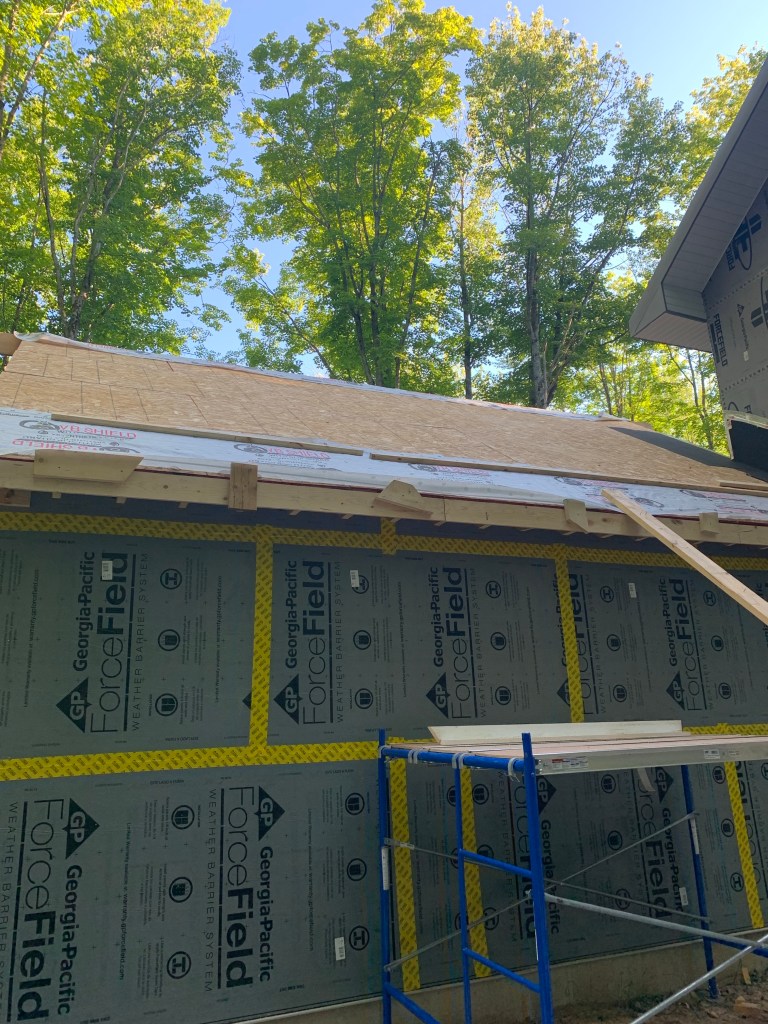
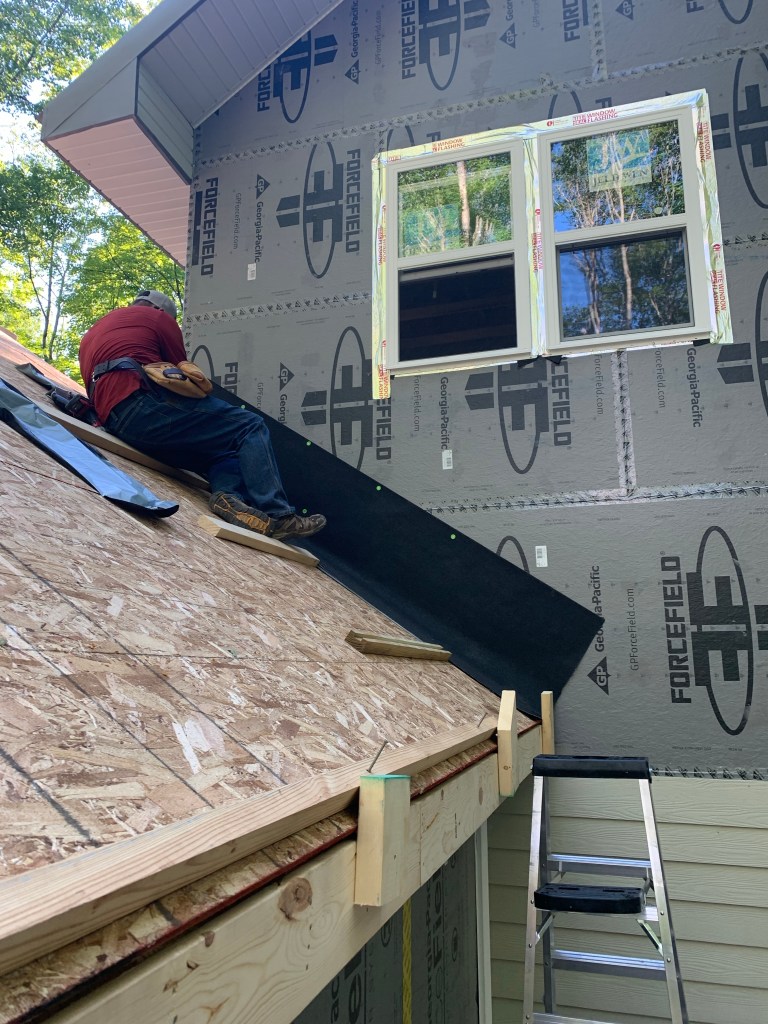
The next day was OSB on the roof day, or Leg and Worry Day. I’ll leave it to the reader on who did what…
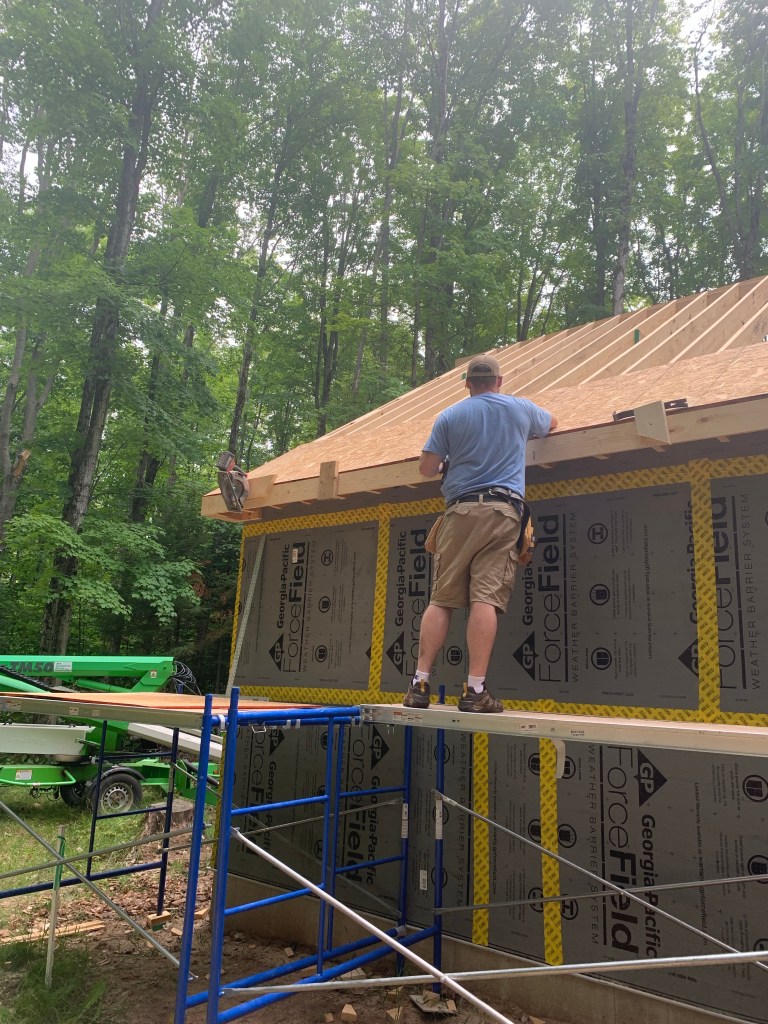
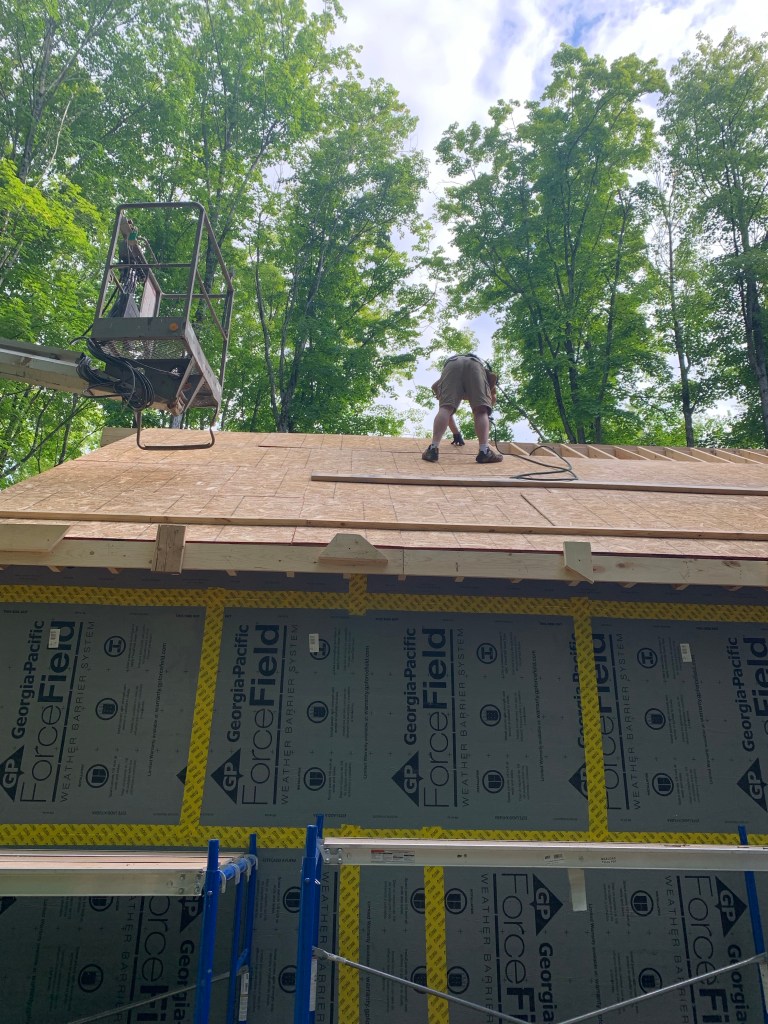
In addition to worrying, I would use the circular saw to cut the OSB to length and help lift it up, while climbing on the scaffolding to pass it up. J muscled each sheet, secured in place and added foot holds for the next row.
Next, we needed to add the synthetic roof paper. This involved more roof time, wrangling long sheets of roof paper and repositioning the stepping boards.

The next order of business was tackling the siding. Front of cabin first…
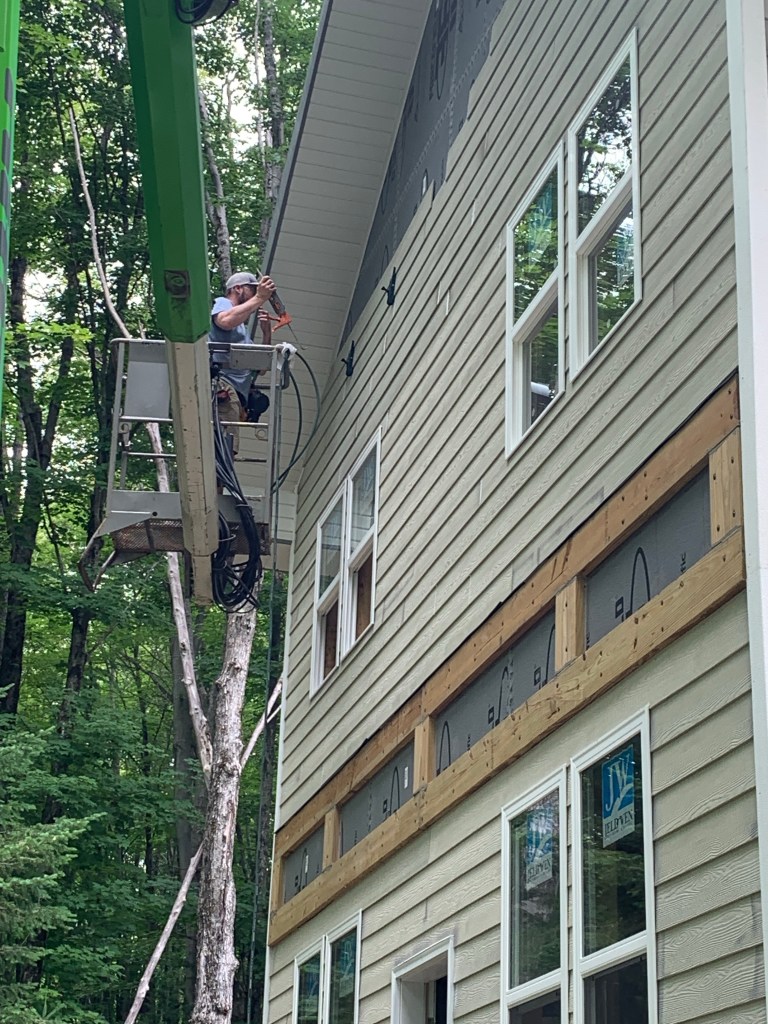
Again, as with the framing and roofing, teamwork prevailed. I cut the cement board siding and carried them up to the second floor and handed them out the windows to J as he installed, then measured for the next piece. These were my Leg Days…
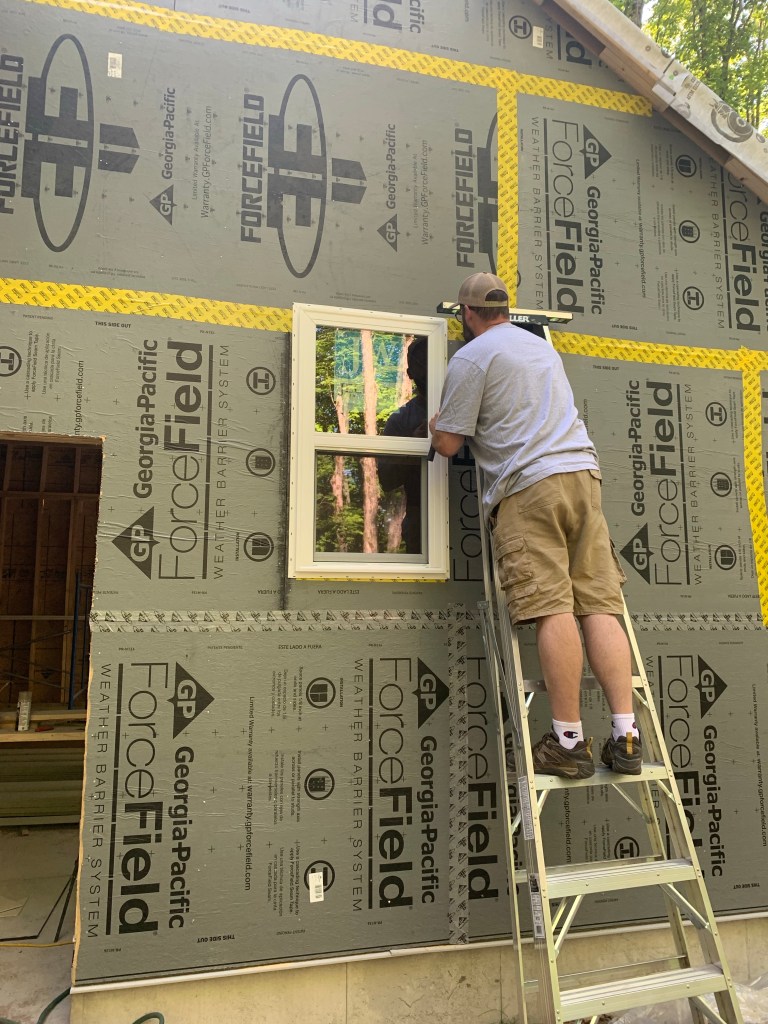
Before tackling the back, and last side of the house, we decided to keep NF (Nifty Fifty, not the rapper) on the one side of the house and tackle the adjacent side of the garage. So, in order to do that, we needed to install windows and door.

On our last day, we pushed hard to finish the back side of the house. It was a very hot and humid day. There were a few extras we had to do earlier in the week in preparation for this side. We fortified the wall and garage roof where they meet to make sure no water ever pools in this area.
The next morning, we returned NF, boarded up the garage and put a lock on the door. We worked for 10 days straight, and got a lot done. We need to celebrate our wins, and congratulate one another on a job well done. We went home full of ibuprofen and smelling like tiger balm. Hooha! J & M